When it comes to architectural presentation boards, CAD programs fall further behind expectations, more and more people are using other software tools to create their presentations that meet their needs. Adobe’s Photoshop and Illustrator are some of the most popular tools when it comes to preparing presentation boards. If you have not use either one of these software to enhance your presentation boards, then you must be missing something. In this article, we will look at one of the most common effects architecture students and illustrators love to play with but find difficult to figure out: the Gradient Mask.
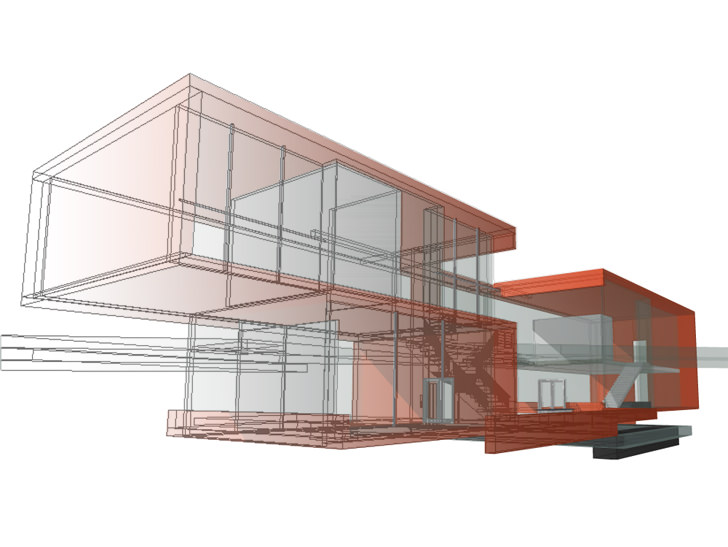
In order to blend both of the images, you have to export them in the same exact view. To capture both views you can use any CAD software offers, In AutoCAD and Architectural Desktop, you can Plot a Hidden Wireframe to a .tif file and Render to a .tif file format as well to get really high resolution images.
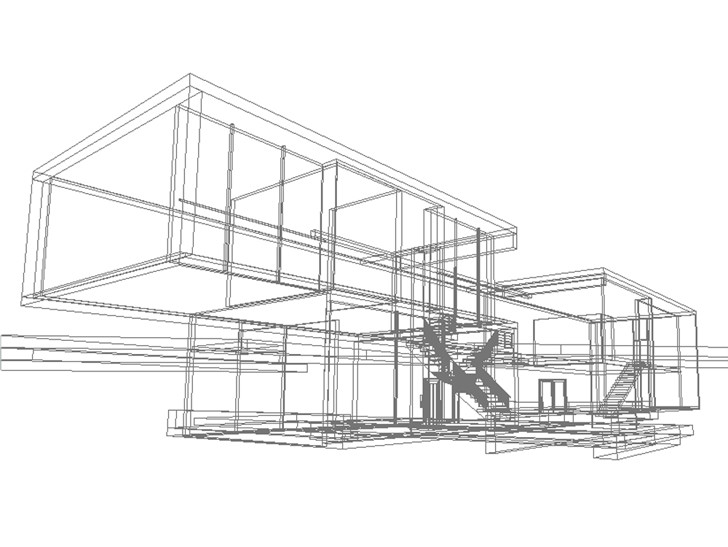
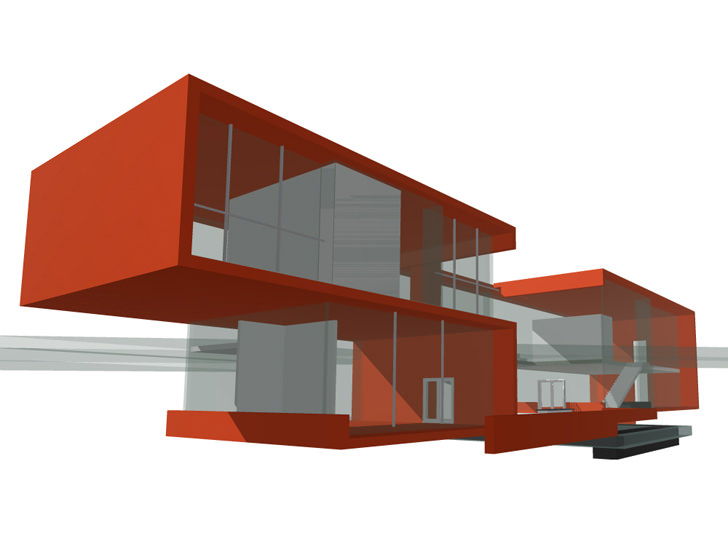
With both the images from your CAD program, import them into Photoshop and put them on separate Layers. Typically I like to put the Wireframe on top of the Shaded or Rendered image but it is not necessary to follow my preferences.

Align the images by adjusting the Transparency Bar on the top Layer so you can see both images blended at the same time. Zoom in to match the Wireframe up against the Shaded or Rendered image. After the alignment, please remember to set the opacity back to 100%
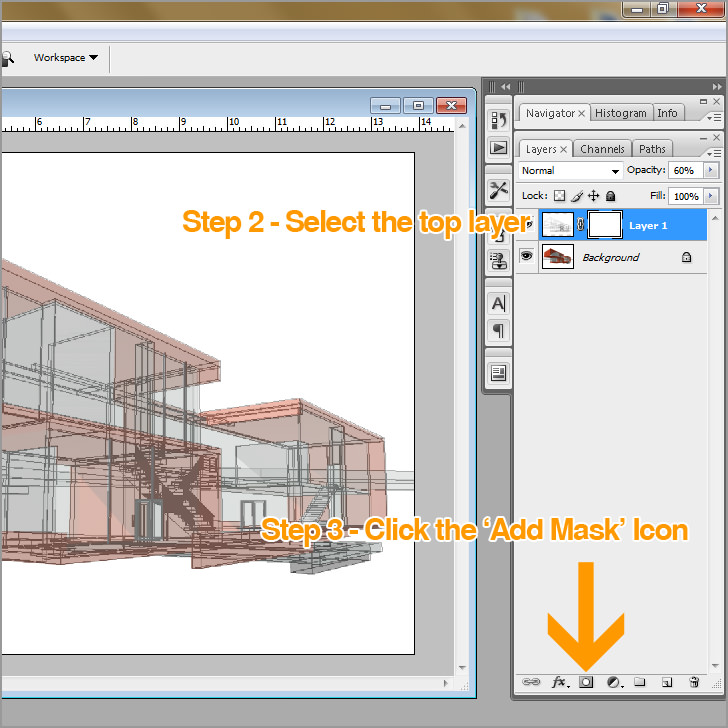
After adding a Mask to the current selected Layer, use set the Paint Bucket tool to a Gradient tool and make any adjustments you see fit. The Color should be set to Black. You can always adjust the falloff of the gradient by double-clicking on the gradient drop-down.
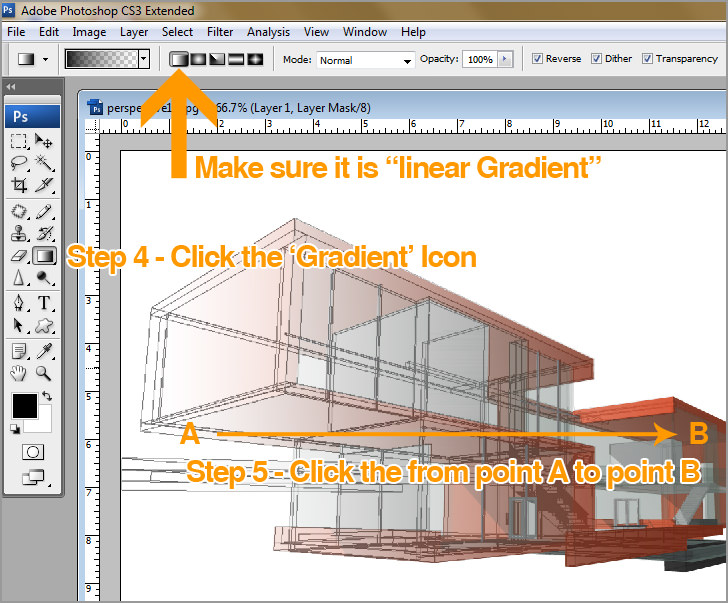
With the Gradient Tool set, select two points across the image and witness the gradient results immediately, illustrated example can be seen at the image above. If you increase the distance the falloff should be stretched and less drastic while decreasing the distance should create a dramatic falloff as illustrated to the right. Recommended to use the Shift key while drawing the gradient line in order to create a straight gradient.


Thank you for this tutorial!
I have a question, do you know where I can find info about illustrator for architecture?
Have fun
Valeria
Thank You very much for tutorials. Very helpful to me!
Merry Christmass and happy New Year!
Take care
thanks for the quick tutorial. good luck.
simon
hey…thanx for the tutorial…keep more coming in…but after ur thesis..all the best for that..
thanks for radient masks.