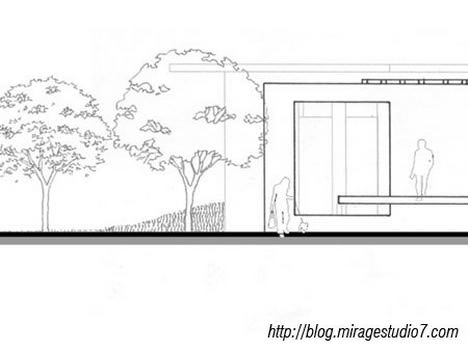
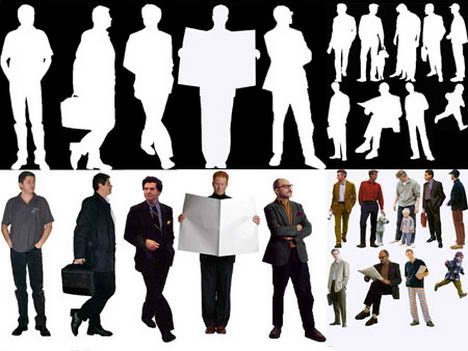
When it comes to presentation, inserting raster images of human and trees gives it an overall feeling of liveliness. The whole idea is to counter the mono tone feeling of line drawings, especially when it comes to presenting your work to someone who is not in the architecture line of field.
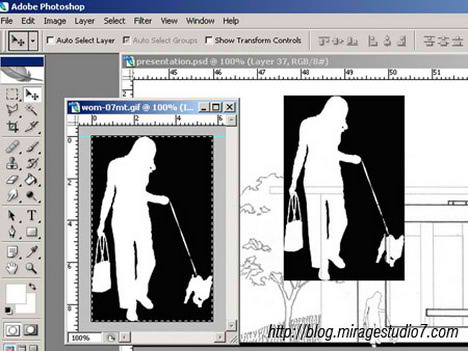
I have included a few of my collection in jpeg available for download at the end of this article. Each image shows a person on a white background and another one with a cut-out version. For those who are still relatively new to Photoshop or this is your first year as an architecture student, a step by step tutorial on how to insert the image into your presentation boards is available.
(1) Select (ctrl + a ) then copy (ctrl + c) the image and paste (ctrl + v) it into the presentation board from the source.
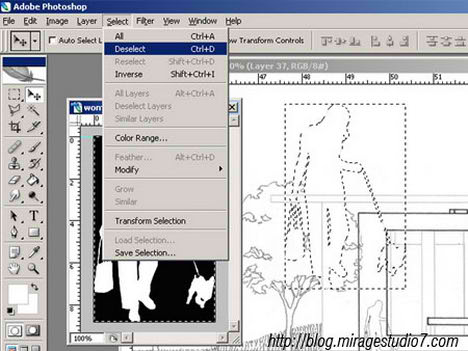
(2) Select the magic wand tool (press W) then click on the black area, to select multiple area hold down the ctrl key and click on multiple areas.
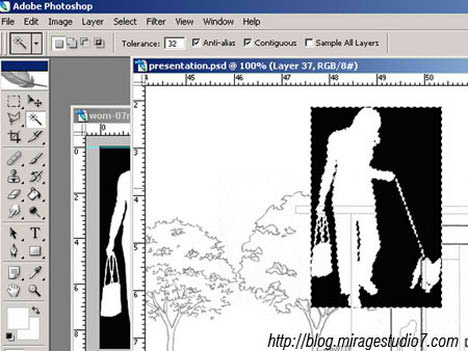
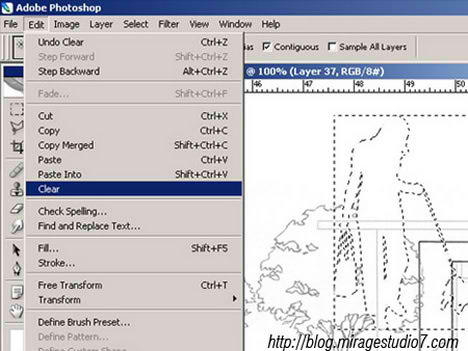
(3) Select all of the black colour areas then delete (press the delete key) or go to “edit” then select “clear” to delete the selected areas.
(4) Deselect the area by pressing (ctrl + d) or go to “select” then “clear”.
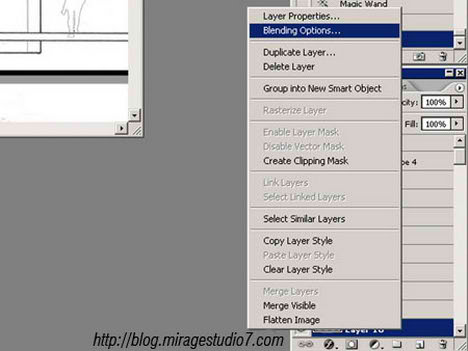
(5) In the layer toolbox, right click on the selected layer then choose “Blending Option”
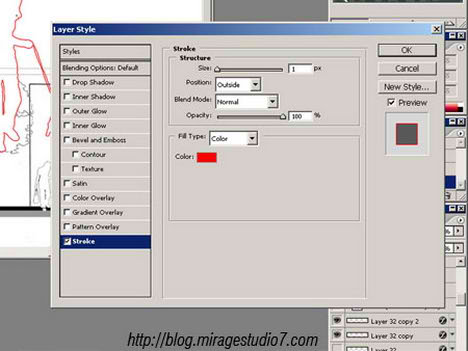
(6) In layer style dialog , under the styles category select “stroke”, then put the line thickness to 1. By default the colour is red, change the colour to suit your presentation boards.
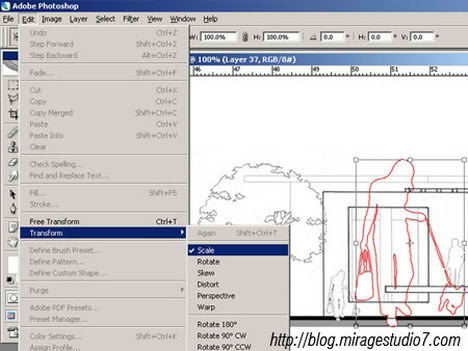
(7) Resize (ctrl + t) the image to scale, go to “edit” then “transform” and select “scale”
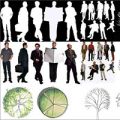
Creating a “cut-out” or “floating image” of any of the image objects supplied below is a simple 7 step process. The step by step tutorial above gives an overview of the whole process using Photoshop. For cut-out version of trees browse to the previous post – Architecture Trees Sketches
Click here for a higher resolution version- Raster Image Female. Source of Image hot link from Architecture Blog

Click here for a higher resolution version- Raster Image Male. Source of Image hot link from Architecture Blog

Hi. first of all let me say that i like your blog and once in a while come to check out the new written stuff. Some tutorials (the ones I have completely read) are very usefull. The other can’t tell…
What brings me to write this post however is another business: see the lovely trees you have on the first image? Well, I know you have them somewhere in here but I really can’t find them and I *really* want to use them and not other trees. The problem: I am working on a presentation and I really want these trees but since a forceful format to my main hard drive I have lost the jpg file. Can you be a (even more) generous soul and pleaaaaase show me the way to the file? A stressed out architecture student eagerly awaits your response…
Thank you it’s a greet tutorial.
First of all,i love your blog and every tutorials you have written. They all are very useful. Secondly, I had my midterm crit yesterday. All of us got slammed by our critics…feeling so upset this morning. your website doesn’t make me any happier, though i am really into reading your blog and temporary forget how upset i am.
do you mind if I linked your blog into mine? thanks.
Awsome job,,, But can you teach me how to add shadow in a 2D building elevation in photoshop.
Your help is surely appreciated,
hi! ngan first of all i am very thrilled by your entry in your blog, i find it useful and entertaining.
im also an architecture graduate here in the philippines.
my family and i are planning to go to australia someday, maybe i could see you personally
more power to you!
and thank you for the humor and knowledge
If you would like more free cut out people to use then try our site http://www.kropped.com, all images are completely free in psd format.
Hope this helps.
You are amazing! Thanks so much for the tutorials, they are really helpful for the beginner architecture students. Life saver!