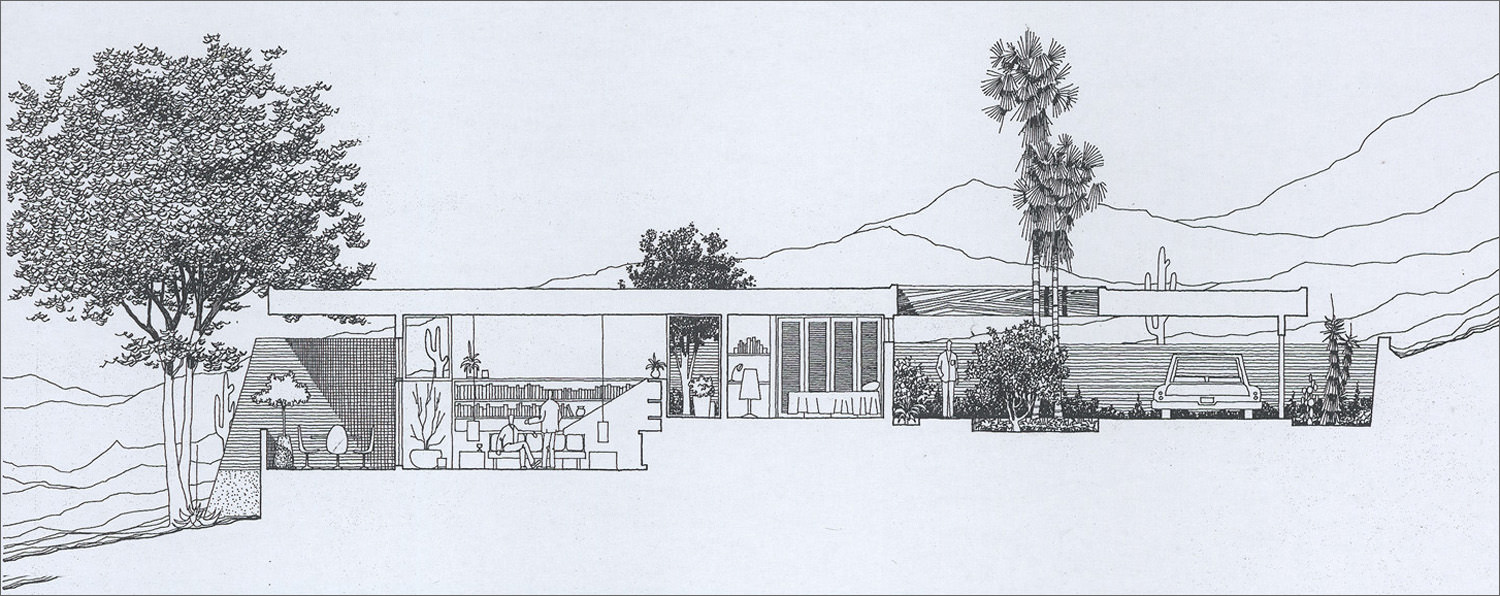
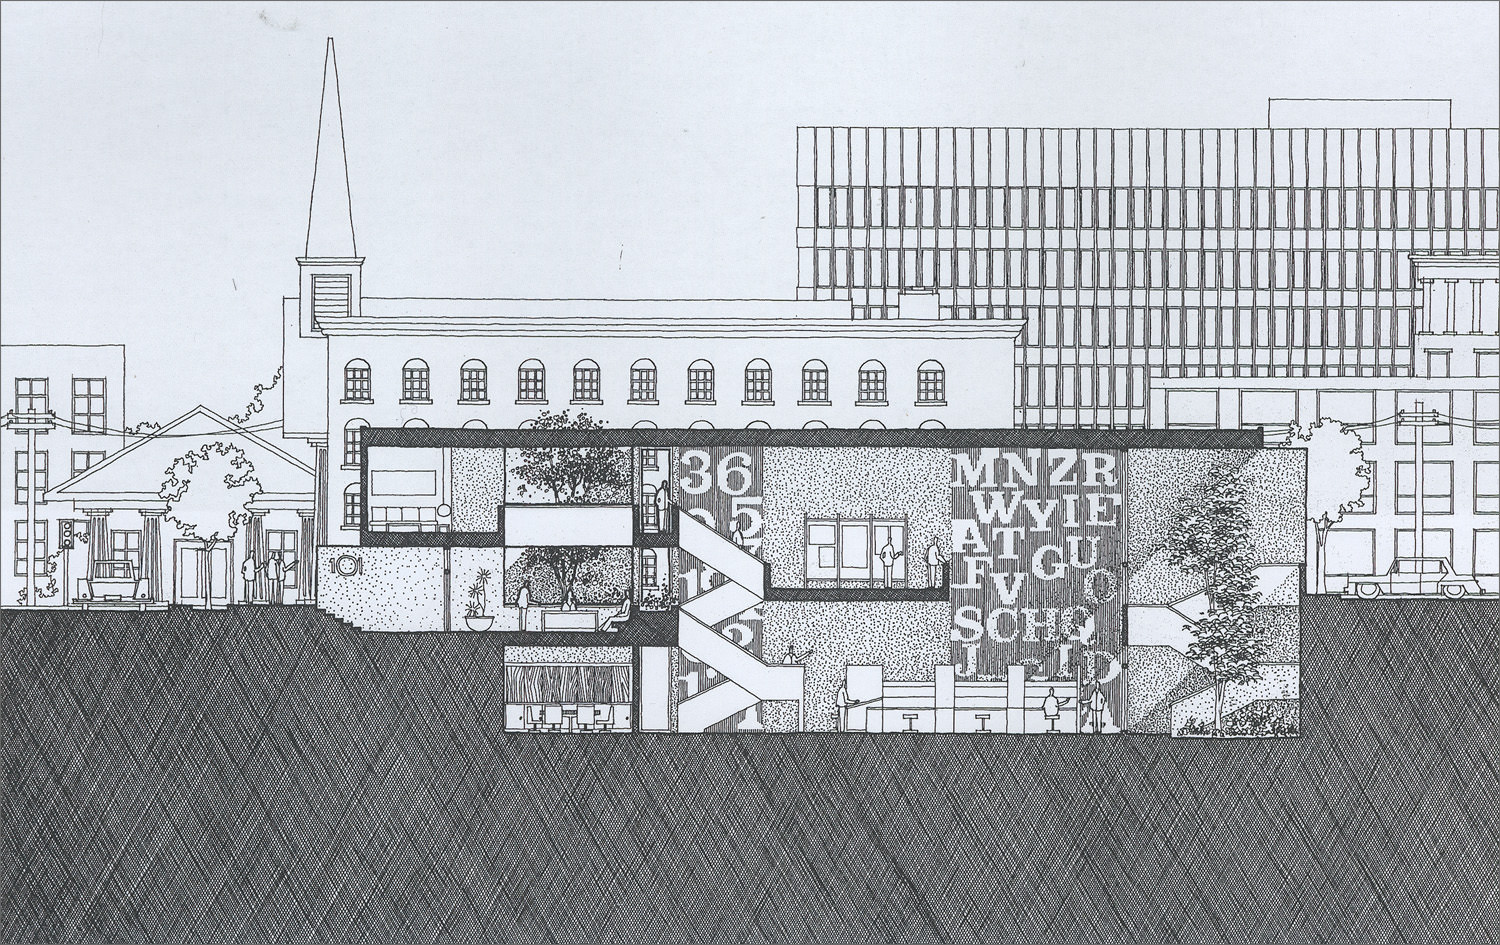
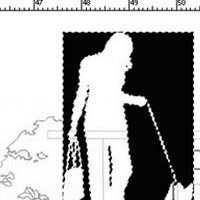
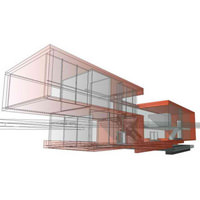
While going through some of my files, I stumbled upon 12 textures I created for my final year thesis. These seamless textures has a resolution of 300dpi, I’ve scaled it to work perfectly on any drawings with 300 dpi. Below are 2 examples of what can be done with the use of these textures, click sketches/images for a higher resolution.
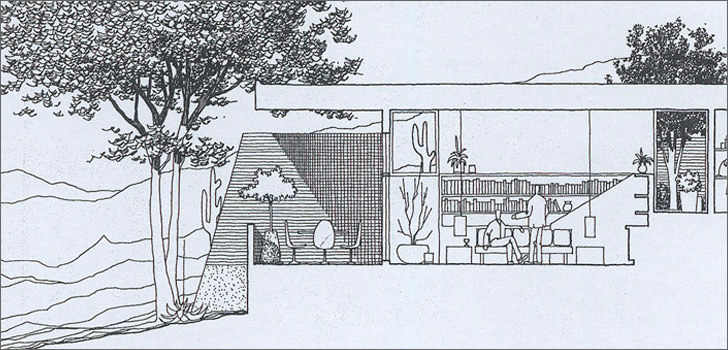
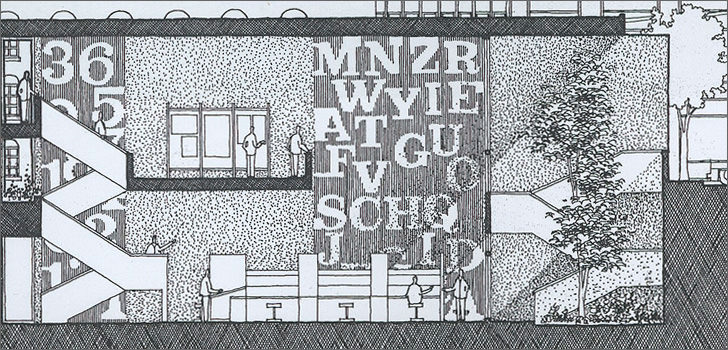
With a little bit of creativity, one can achieve amazing results by using the layer filter. Multiply it, color burn it, overlay it and etc. The netting effect as shown below can be achieved by rotating and overlapping the ‘Horizontal lines’ layer. Same goes with the ‘dot’ shadow effect.
How to define the pattern in Photoshop?
First, download the entire 12 seamless texture collection.

- Step 1 – Make sure your drawing is in 300dpi! Open any one of the pattern, go to ‘edit’
- Step 2 – Select ‘define pattern…’

- Step 3 – Click on the ‘bucket’ icon
- Step 4 – Go to the drop down list, select ‘pattern’
- Step 5 – Click on the ‘thumbnail’, find the pattern you’ve just created.
- Step 6 – Say Thank you miragestudio7


It would be interesting if you put a collection of people, trees and cars. Best regards, Adrian
@Adrian
The trees can be found at the download section – https://blog.miragestudio7.com/free-3d-max-library-downloads/
hi,
im interesting abt your textures. can
‘t we convert it to auto cad. because of it can be easily insert to cad textures. like sketch ..
I believe it can be done, but it might be too ‘heavy’ for AutoCAD. AutoCAD is vector based software, whereas Photoshop is raster based. You will probably experience lag when you hatch it in AutoCAD.
Thanks for sharing. That is awesome.
thanks!!!!very kind!