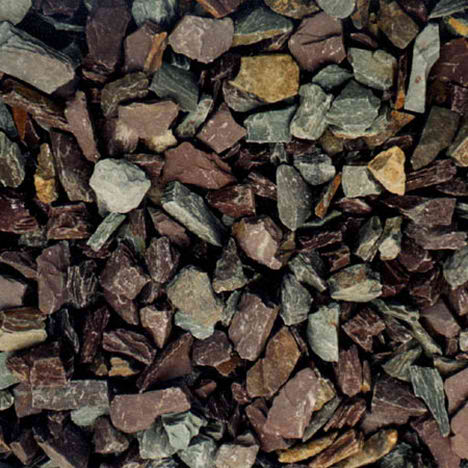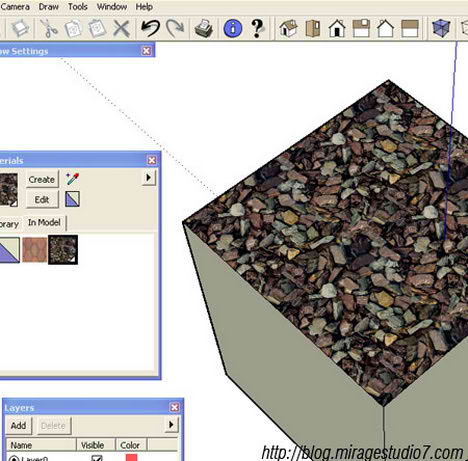
Creating your own seamless texture is a simple process. It requires only a few simple steps to follow. First take a picture of the texture you wanted, then crop the image to an acceptable size. The image below is 450px by 450px. Right click and save it to your comp for the step by step tutorial.
1. The first step is to “offset” the image by going to the Filter tab , then select “others” follow by “offset”. Image shown below.

2. For the settings, the horizontal and vertical value should be half of what the actual image size. The image I’m using above is 450 x 450 px, which means the value for both horizontal and vertical should be 225px. Click “ok” and the seams in your texture should now be visible.

3. Select the clone stamp tool then press the “ctrl” key (do not release it) and click on to the desire source that you want to duplicate, release the “ctrl” key after selecting. The clone stamp tool allows a part of an image to be duplicated, just like stamping. Repeat until you’ve gently obliterated all traces of the seams, producing a uniformly cloudy frame. Try to avoid cloning around the edges, since those already are seamless.


Once you’ve done stamping the image, save it as jpeg and give it a quick test. There are still details that will create that ‘repeat-effect’ when you tile the image.


Hi Ngan,
been across to your site a few times before, and finally decided to leave a comment.
thanks for the tutorials, and for sharing info about yourself- you could consider to be a comedian besides pursuing a career in archi :)
C! Chiu
architecture student in NZ
Great tutorial, I’m a 2D and 3D artist and with my friends from ‘Dustwallow software’ we’ve created a seamless texture generating software, I’ll be very glad to hear your oppinion about our program, check it out here:
Thank you in advance.